If you're pregnant and have looked for maternity patterns you know how wearing it is! During my last pregnancy I used several different patterns and SOMEHOW made a dress-
I was determined to find an actual pattern. So I did a lot of research on Pinterest and found a french pattern- http://www.deuxiemearrondissement.bigcartel.com/product/robe-minuit

In my desperation, I bought it...and totally looked past the point that I can't read French....but I dove in anyways buying 4 fabrics (as you can see I use different fabrics during this post). Thanks to my wonderful Mama I was able to decipher the directions but loved the simplicity and efficiency of the Europeans. I couldn't believe when I opened my package and found only this-

I have never made a dress on the bias so kind Momma helped me by explaining how to cut on the bias. We started with 3 1/2 yards and was more than enough but better safe than sorry. I would definitely suggest a trial run or two before starting in but I just got lucky on the size.
NOTE- EUROPEAN APPAREL FABRIC IS MUCH WIDER, UNLIKE AMERICAN FABRICS SO I WAS UNABLE TO CUT ON THE FOLD SO HERE IS HOW TO CUT ON THE BIAS. (SEAMS WILL BE ON FRONT AND BACK.)
We began by folding the fabric in half (it just worked out that I needed exactly half of 3.5 yards for the length of my skirt but would make it shorter next time). We used a marker to help us keep the grain line
.jpg)
As you can see we just drew an arrow pointing downward
.jpg)
Then at the fold we drew another arrow but reassuring ourselves that if we unfolded the fabric the arrows would be pointing in the same direction.
.jpg)
.jpg)
Cutting on the bias but hopefully its easier to understand with these confusing pictures- I have circled the piece of fabric that has the 2nd arrow
.jpg)

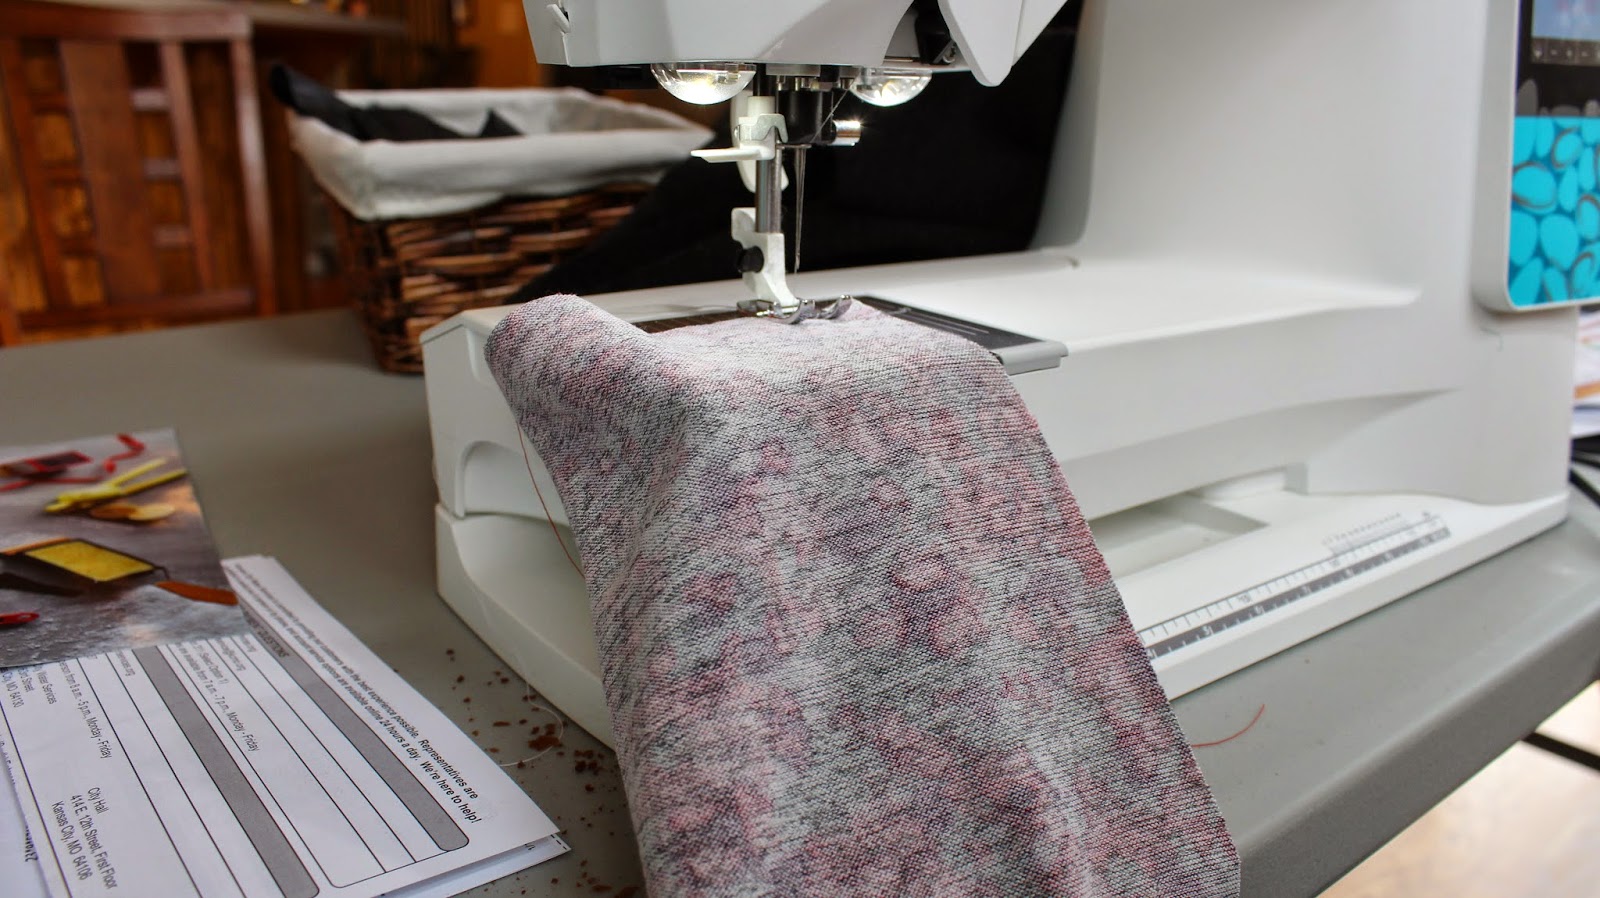
I cut a size large (the French must be VERY small) and with jersey knit it was pretty big so I made my seams along the "20" marker on the machine and for a not so stretchy fabric it was a little snug around the arms and bust so I am stitching at the 10 marker.
Happy Sewing

First- Sew the darts and sew the shoulder seams

The main reason I love this dress is that there is no zipper! It has a teardrop opening in the back and its super simple!

sew the 2 facing pieces together and right sides together pin to bodice. Make sure the shoulder seams are lined up.
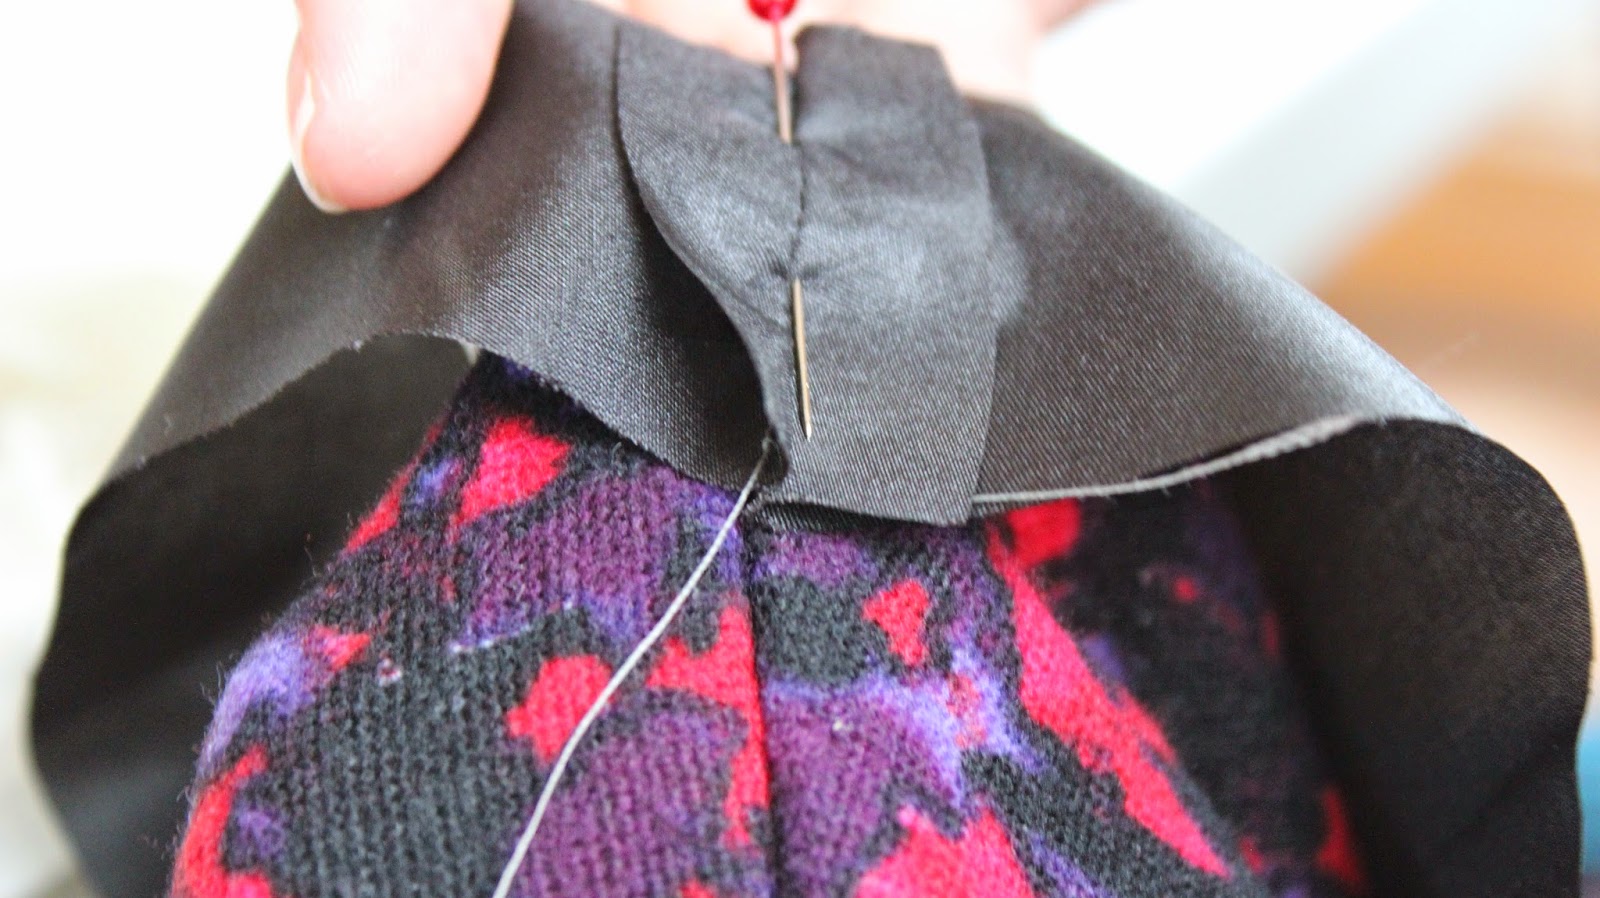

And pin all the way around it.


Stitch around and its easiest to stitch the teardrop last.


You can't see in the picture but I drew with a pen a teardrop shape and sewed around that...


Finished!

Now clip around the INSIDE of the circle

clip the edges


Now for the sleeves-
Pin the sleeves right sides together


And stitch the sides of the sleeve and the sides
and attach it to the skirt!


.jpg)

Troubleshooting

If your skirt seams are WAY off like mine are (2nd dress I've done this to) What happened was that you sewed the side seams together and your seams
No comments:
Post a Comment