Wednesday, April 8, 2015

2 Weeks PP


        Today I am two weeks postpartum and down 13 pounds out of 19lbs!!!! I am so very very happy! All those brownies, ice cream, toast with peanut butter, Chick fil a nuggets that weren't eaten are soo worth it. The instant gratification of eating what you're craving is SOOO not worth the pounds that aren't so instantly gone and definitely not so gratifying.   I also realized that as of today I weigh less today at 2 weeks pp than I did last July at 3 MONTHS pp! So that was super exciting! Here is my last pregnancy photo and my 2 week pp photo!


Nursing Dress Adventure (for sure)!

      So I wrote this post while I was expecting but was a little leery about publishing it before I actually tried it and it actually works!! It was extremely simple and zero hassle....

-the inexperienced 2 week nursing mother


        As maternity clothes wearing comes to close for me a new chapter begins- nursing approved clothing... I'm not sure which will be more challenging. I love wearing dresses, especially ones that have boat necks so I knew that wouldn't last with nursing.....or perhaps it can??? I found this adorable dress from Sweet Mommy-  and just thought the entire concept was the most amazing idea ever!!! Why can't Americans be as ingenious as the Europeans(or anyone else in the world!)


It is simply 2 invisible zippers in the princess seams!!!!


I really just didn't want three million knit crisscross dresses. So I spent a lot of time trying to figure how how they make it work and see if I could construct my own dress for way less the cost. I began by going through all our patterns in search of a dress with princess seams. I found this New Look pattern that looked practically the same


I cut out a little larger size than I would normally to make room for the two invisible zippers. I used regular zippers from JoAnn's but then realized they were a little stiff, wearable, but stiff non the less. I found Zipper Shipper mesh zippers....they are headed my way and I will try them on the next dress. update-This mesh zipper is much more pliable than your normal zipper, I will use the mesh zippers for the princess seams and regular for the back seam. So I began by cutting out the fabric (what a surprise right?)


As you can see I did shorten the bodice a bit I believe 1.5" just to be a little forgiving with a after baby look. I must admit it is a bit of a challenge creating a non maternity dress and in your 3rd trimester ;) 

This is where I added in the zippers before doing anything else

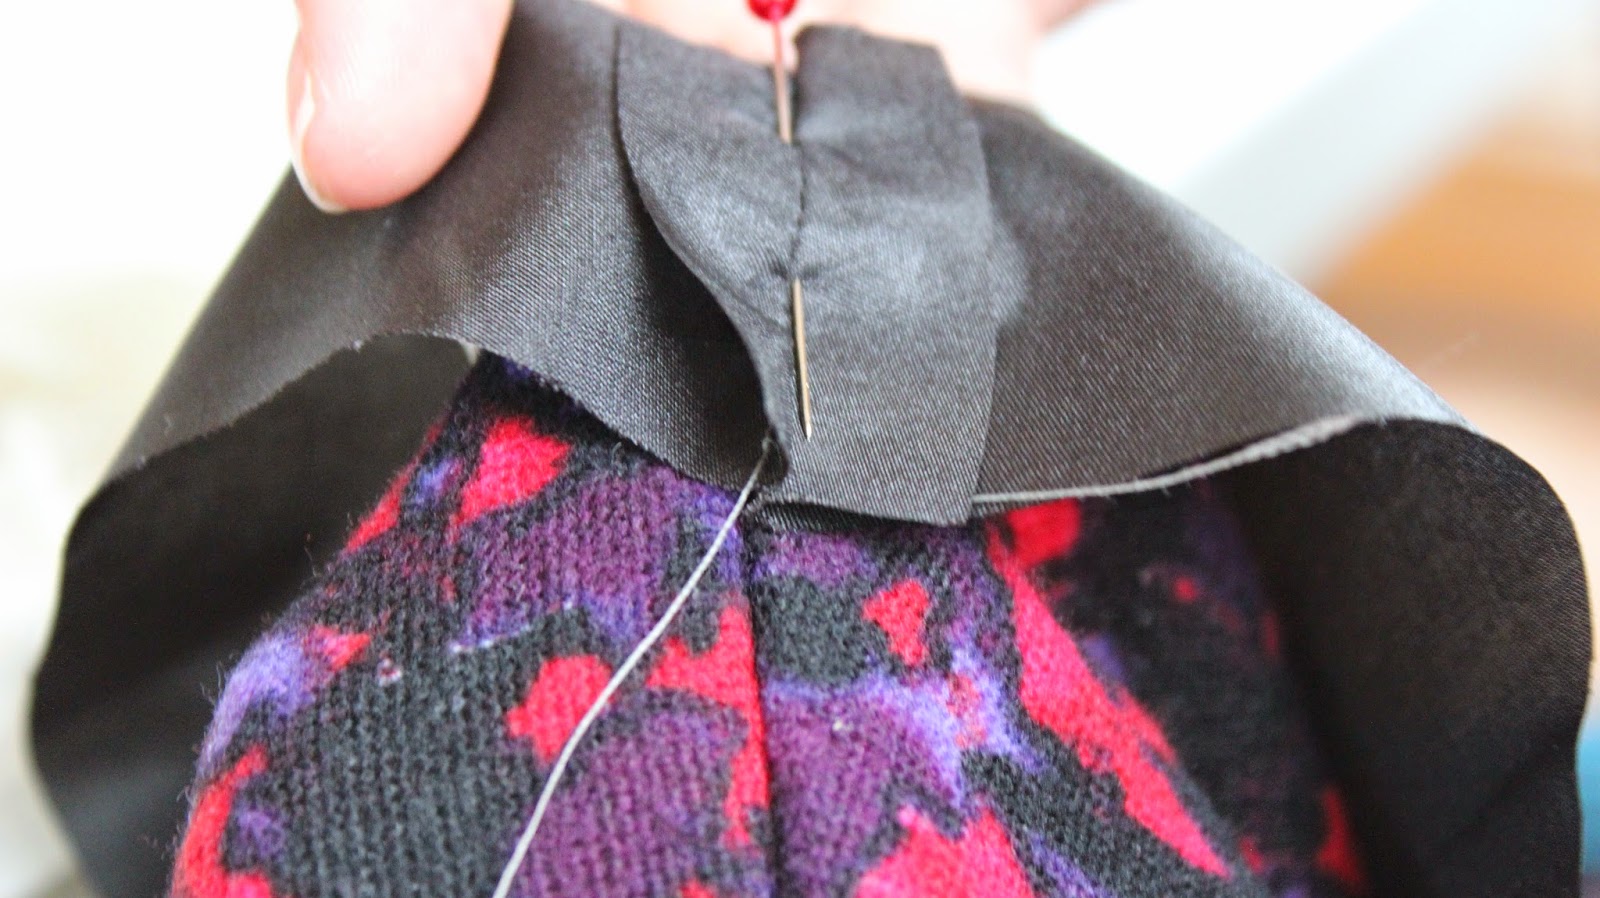
 So I began by just pinning and make sure your zipper IS upside down you definitely don't want the zipper tabs to be at the top while closed(you want it to hide under the dress tie when completed) Update- I did do it a little differently on my following dress making the lining first, in order that the bodice could be lined. Here are a few pictures showing how to line it then add the zippers
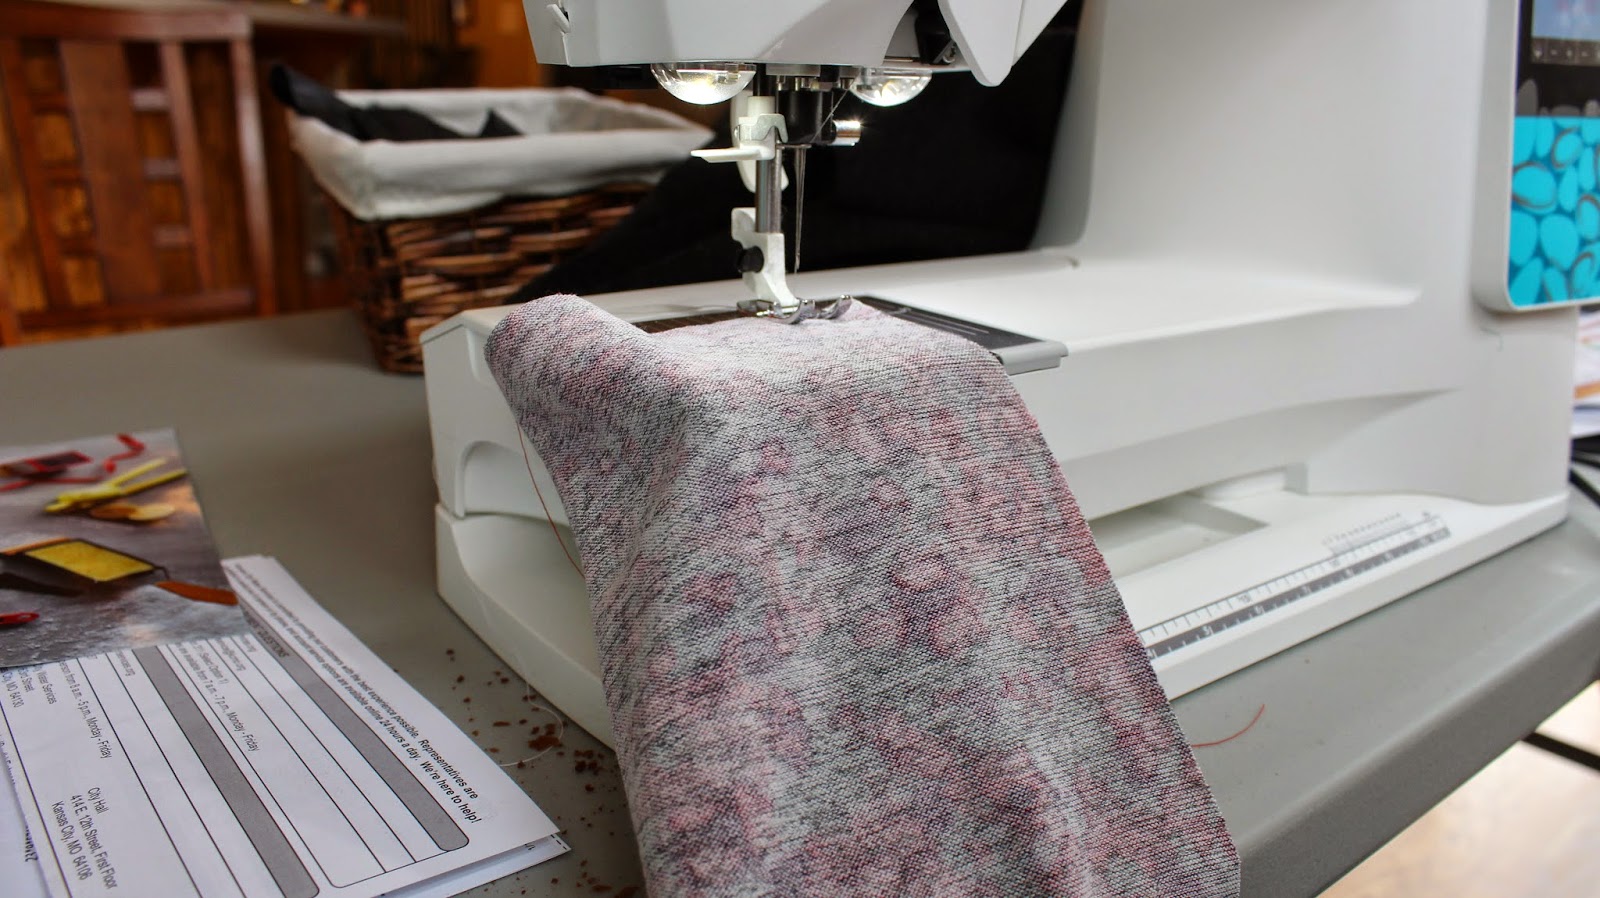
So you can see that the top is already lined I simply am sewing the princess seams and my zippers are in the princess seams

By the way these mesh zippers are AMAZING and much easier to use! I highly recommend them!

Then I sewed the shoulder seams- be sure to clip the edges to ensure as little bulk as possible where the zippers are-
Ta-da!!!!!!

Can you even tell there are zippers there?!?!?! 

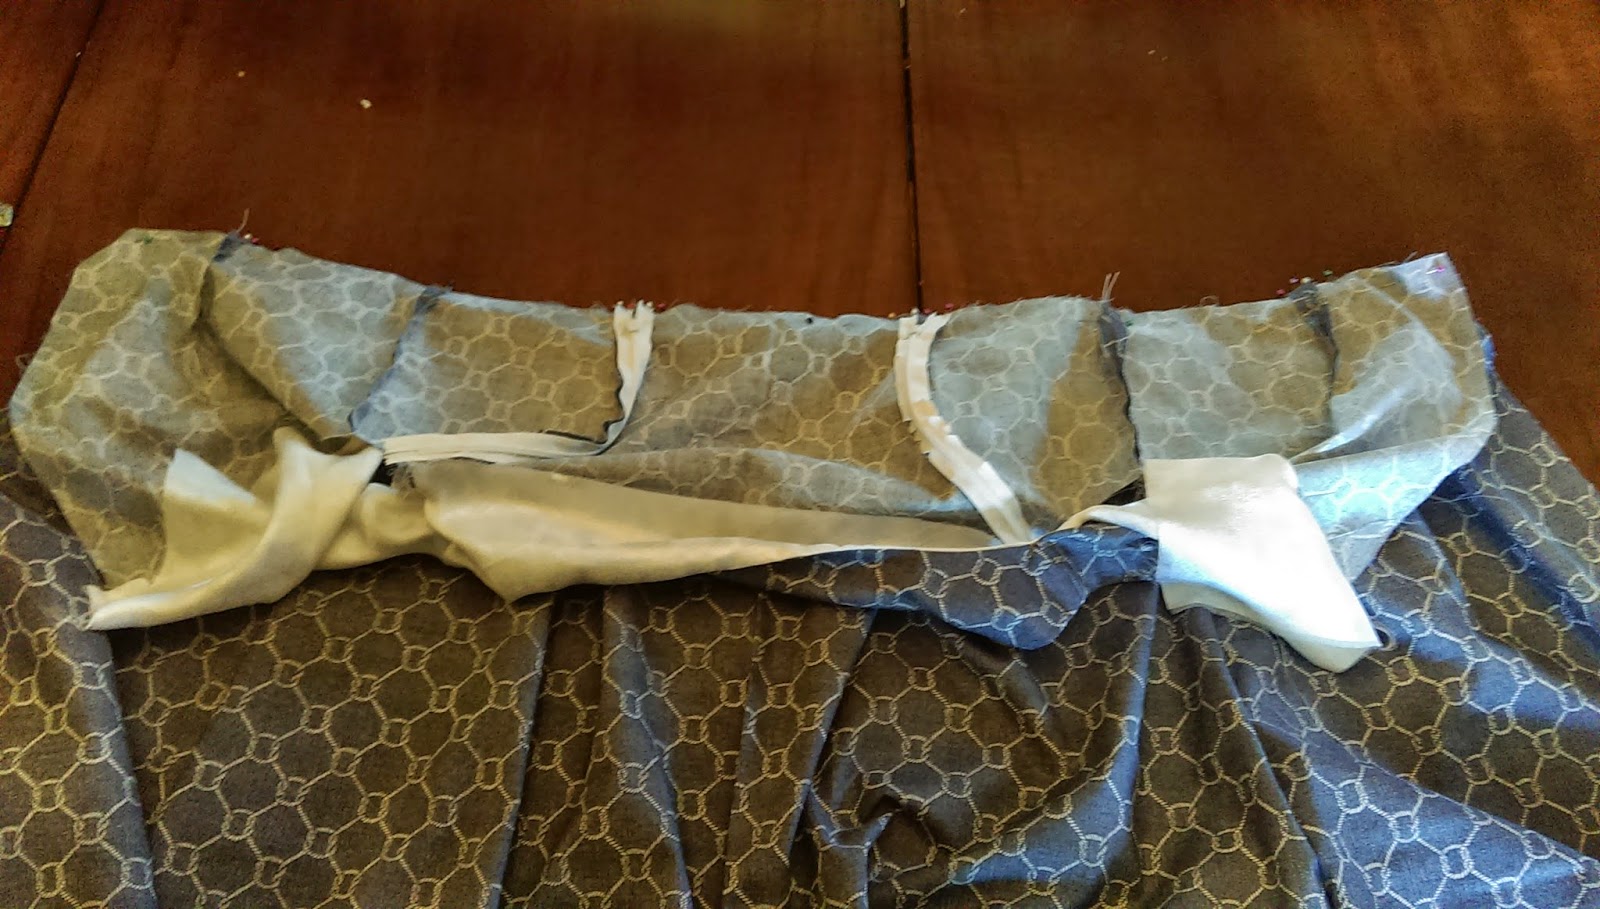
Then I added the skirt and it is a pleated skirt I didn't follow the pattern for the pleats and simply added one pleat under each zipper(to help distract from the pp tummy) and in the back one under each dart(in the back)


Now since this was my first try and no sleeves were added so I plan on wearing a light sweater I didn't mind if the zippers on this one puckered a little. 

The finished tie is 70" long and 3" wide.  

I wore one on Easter and it was great!


Thursday, April 2, 2015

French maternity pattern

If you're pregnant and have looked for maternity patterns you know how wearing it is! During my last pregnancy I used several different patterns and SOMEHOW made a dress-


I was determined to find an actual pattern. So I did a lot of research on Pinterest and found a french pattern- http://www.deuxiemearrondissement.bigcartel.com/product/robe-minuit 


In my desperation, I bought it...and totally looked past the point that I can't read French....but I dove in anyways buying 4 fabrics (as you can see I use different fabrics during this post). Thanks to my wonderful Mama I was able to decipher the directions but loved the simplicity and efficiency of the Europeans. I couldn't believe when I opened my package and found only this- 
                                                                             
                                                                   Yep, that's all of it!!!

I have never made a dress on the bias so kind Momma helped me by explaining how to cut on the bias.  We started with 3 1/2 yards and  was more than enough but better safe than sorry. I would definitely suggest a trial run or two before starting in but I just got lucky on the size.

 NOTE- EUROPEAN APPAREL FABRIC IS MUCH WIDER, UNLIKE AMERICAN FABRICS SO I WAS UNABLE TO CUT ON THE FOLD SO HERE IS HOW TO CUT ON THE BIAS. (SEAMS WILL BE ON FRONT AND BACK.)

We began by folding the fabric in half (it just worked out that I needed exactly half of 3.5 yards for the length of my skirt but would make it shorter next time). We used a marker to help us keep the grain line


                                 As you can see we just drew an arrow pointing downward
                               
               Then  at the fold we drew  another arrow but reassuring ourselves that if we unfolded the                                      fabric the arrows would be pointing in the same direction. 


Cutting on the bias but hopefully its easier to understand with these confusing pictures-  I have circled the piece of fabric that has the 2nd arrow


I cut a size large (the French must be VERY small) and with jersey knit it was pretty big so I made my seams along the "20" marker on the machine and for a not so stretchy fabric it was a little snug around the arms and bust so I am stitching at the 10 marker.


Happy Sewing

First- Sew the darts and sew the shoulder seams 


The main reason I love this dress is that there is no zipper! It has a teardrop opening in the back and its super simple!


sew the 2 facing pieces together and right sides together pin to bodice. Make sure the shoulder seams are lined up.


And pin all the way around it.


Stitch around and its easiest to stitch the teardrop last.


You can't see in the picture but I drew with a pen a teardrop shape and sewed around that...


Finished!


Now clip around the INSIDE of the circle 


clip the edges


Now for the sleeves-

Pin the sleeves right sides together


And stitch the sides of the sleeve and the sides


and attach it to the skirt!


                                                        Troubleshooting


If your skirt seams are WAY off like mine are (2nd dress I've done this to) What happened was that you sewed the side seams together and your seams 


Freezer Meals- why didn't I think of this before??

     I decided that before this little man arrives I would try making some frozen meals in order to prevent Chic-fi-la every night and with my husband it was bound to happen! I had never tried it but it looked like a solution to my problem. I also knew I wanted to shed this weight as quickly as possible and take out or quesadillas(the extent of the hunny's cooking skills) would only pack on the weight instead.... I am not the biggest fan of crockpot dinners so i just needed quick throw in the oven meals/thaw. I had looked all over pinterest for meals to freeze but mostly found foods that really weren't that healthy like cranberry chicken with cranberry sauce which is super sugary and a bunch of canned veggies and such.

   The meals I planned on making were-
turkey meatballs
turkey burgers
chicken soup 
chicken seasoned ready to pop in the oven
a few quiches for the hunny to take to work in the morning


   So I went to Sam's Club with a quick list of diet-friendly(for the most part) items and here is what I bought-

3 packages of ground turkey- $19
2 whole chickens- $13
large pack of chicken tenderloins-$15
a large bag of carrots
celery
organic pasta sauce (not that creative to make my own)
mozzarella cheese
eggs


In one afternoon I made about 15 dinners and enough breakfasts for my hunny for awhile. I was so pleased with the results and love not waiting until I hear on the phone "What's for dinner?" (an hour before dinnertime) 


                For the chicken I just have them "pre seasoned" for easy pull out and throw in the oven.


Thanks to the Mamasita I was able to use her ginormous pot for the soup


Somehow all the meals fit!


All in all I was able to make (just under $100)-
2.5 gallons of chicken soup
6 chicken dinners prepped  
60+ turkey meatballs
8 turkey burgers   
4 quiches      


...
....and yes by the end of it I was exhausted and this was the final text to my hunny


"If there are chopped celery and carrots on the floor but I can't see them are they still there?